
Overview
Pages are used to add content to convey the necessary information in the course. Once you have added a page, you can add content including images, audio, tooltips, and links. In addition, you can add headings, lists, and bullets to format your content and enhance readability.This guide will walk you through the features of the content editor.
Adding a Page
To add a page, go to the Edit tab from within the Learning Path.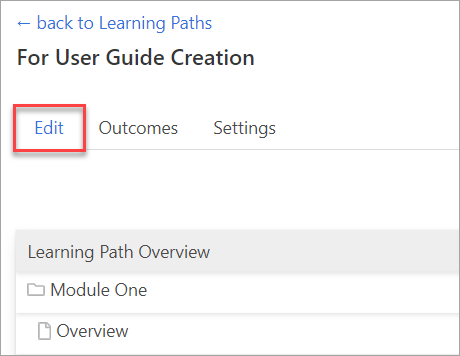
Hover over the item that you want the page to come after and click the three dots to the far right (1).
Then click on new page (2).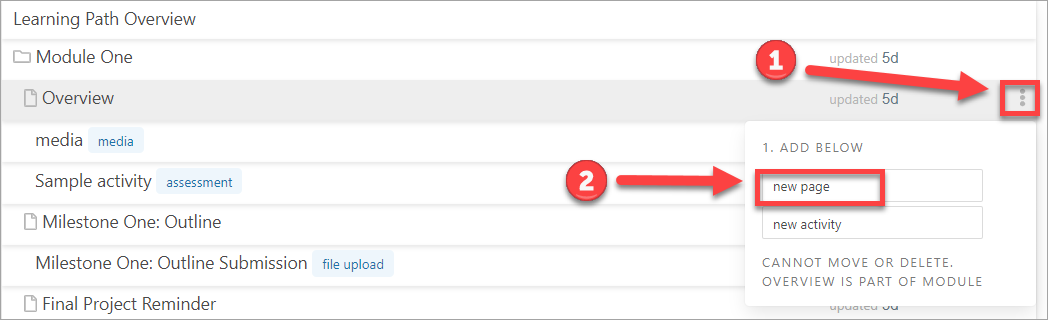
A new window will appear.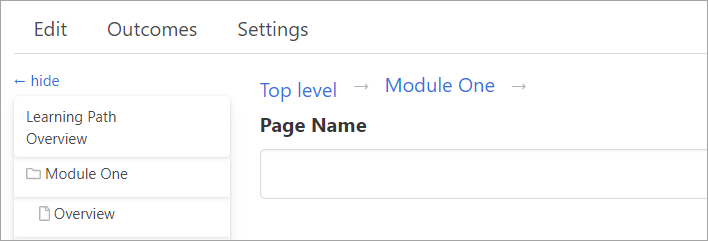
Add the name of the page.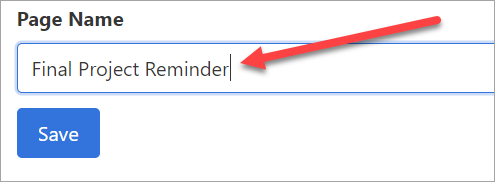
Click Save.

Once you click Save, the content editor will appear. You can then add content. 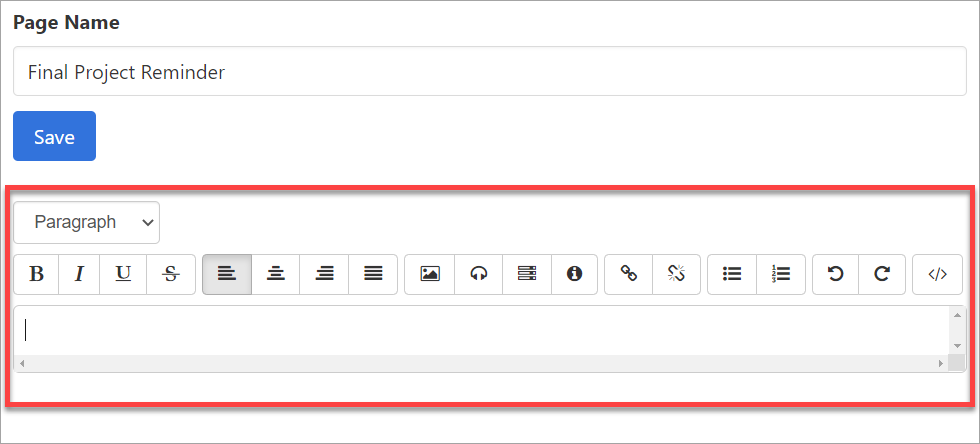
Add Content to Your Page
In the content editor, you can adjust the following content settings:
Set styles and headings

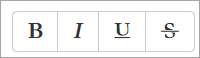
Add bold, italics, underline, and strikethrough
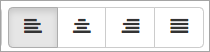
Set the alignment
Add an image
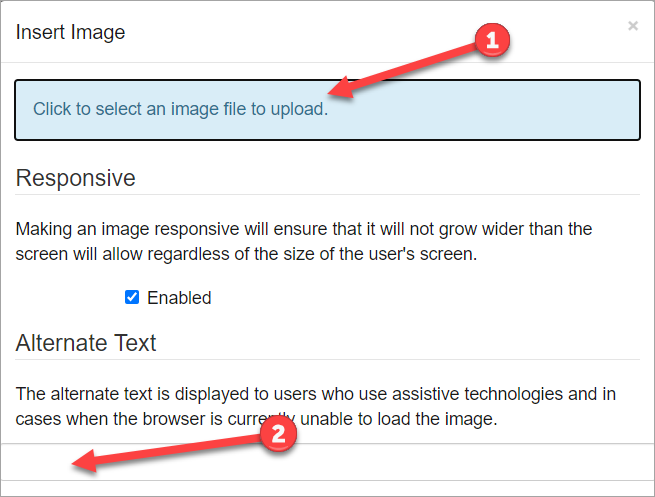
Click on the icon to add an image.
![]()
A new window will appear. Select the image you want to upload (1). Include alt text (2) to make sure your image is accessible.
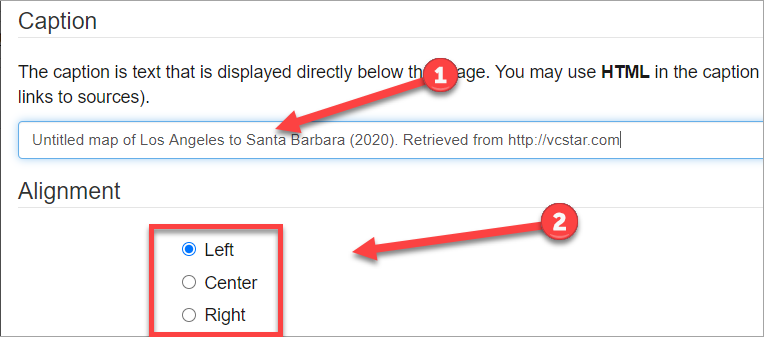
You can add a caption to your image (1). Alignment allows you to align the image on the left side, right side or center of your text (2).
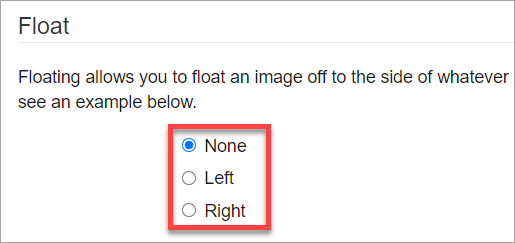
Float allows your image to float to the side of the content.
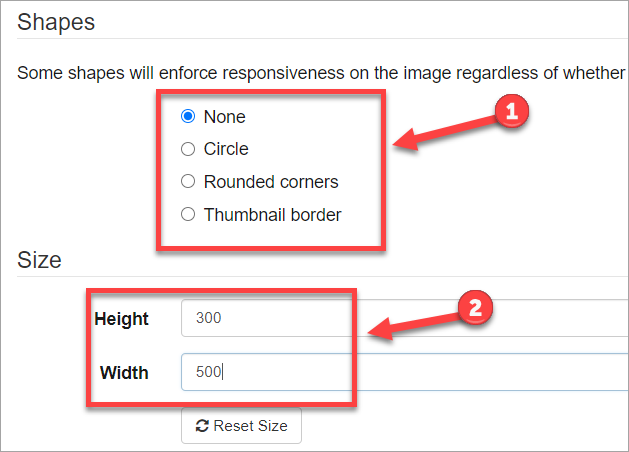
You can add shapes to your image (1). And you can adjust the size of your image (2).
When done, click the check mark to save to your page.
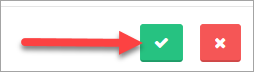
If you want to cancel, click the "x."
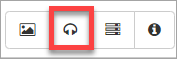
Add audio
To add an audio file, click on the icon.
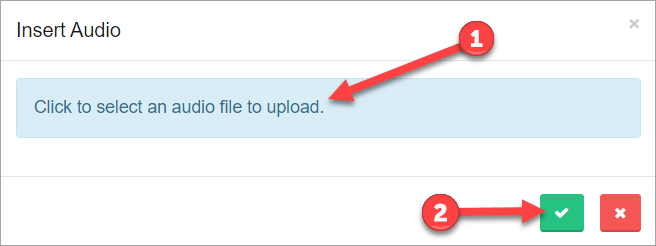
A new window will pop up.
Select your audio file (1) and click the checkmark to save (2).
Advanced Content Displays
Skillways includes various layout options that make it easy for you to chunk content while providing some interactivity for your learners. The accordion icon in the content editor allows you to add these displays including accordion, tab, and carousel layouts.
![]()
Please see the user guide entitled How do I add advanced content displays (accordions, tabs, carousels)? for more information.
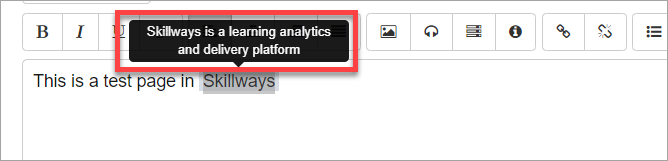
Add a tooltip
A tooltip is a message that appears when a cursor is positioned over an icon, image, hyperlink, or other element in a graphical user interface.
Select the text where you want to add the tooltip (1). Select the tooltip icon in the visual editor (2).
![]()
Enter the tooltip content (3). Then click the check mark to save (4).
![]()
Rollover the selected area to see the tooltip.
Adding a link
To add a link, highlight the text you want to link (1), then click the link icon (2).
![]()
A new window will appear. Add the address/URL (3). When done, click the checkmark (4) to save to your page.
![]()
If you want to cancel, click the "x."
Break a link

If you want to break a link, highlight the linked text. Then click on the break a link icon.

Add bullets or numbers
Undo and Redo
Click on either of these icons to restore what you have done or to add the content back.
![]()
Source View
Clicking on this icon will enable the source view.
![]()
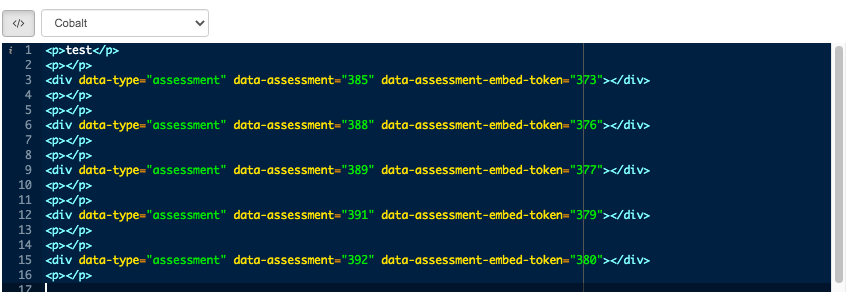
Click on this icon again to return to the content editor.
![]()
When you are done adding/editing content, click Save at the bottom of the page.
Comments
0 comments
Please sign in to leave a comment.